Wedding chaos is in full bloom
and I am treasuring brief breaks
of distraction any way I can steal them!
I ordered my Running with Scissors Bag on ETSY, because who was I kidding,
I was never going to get around to making this one.
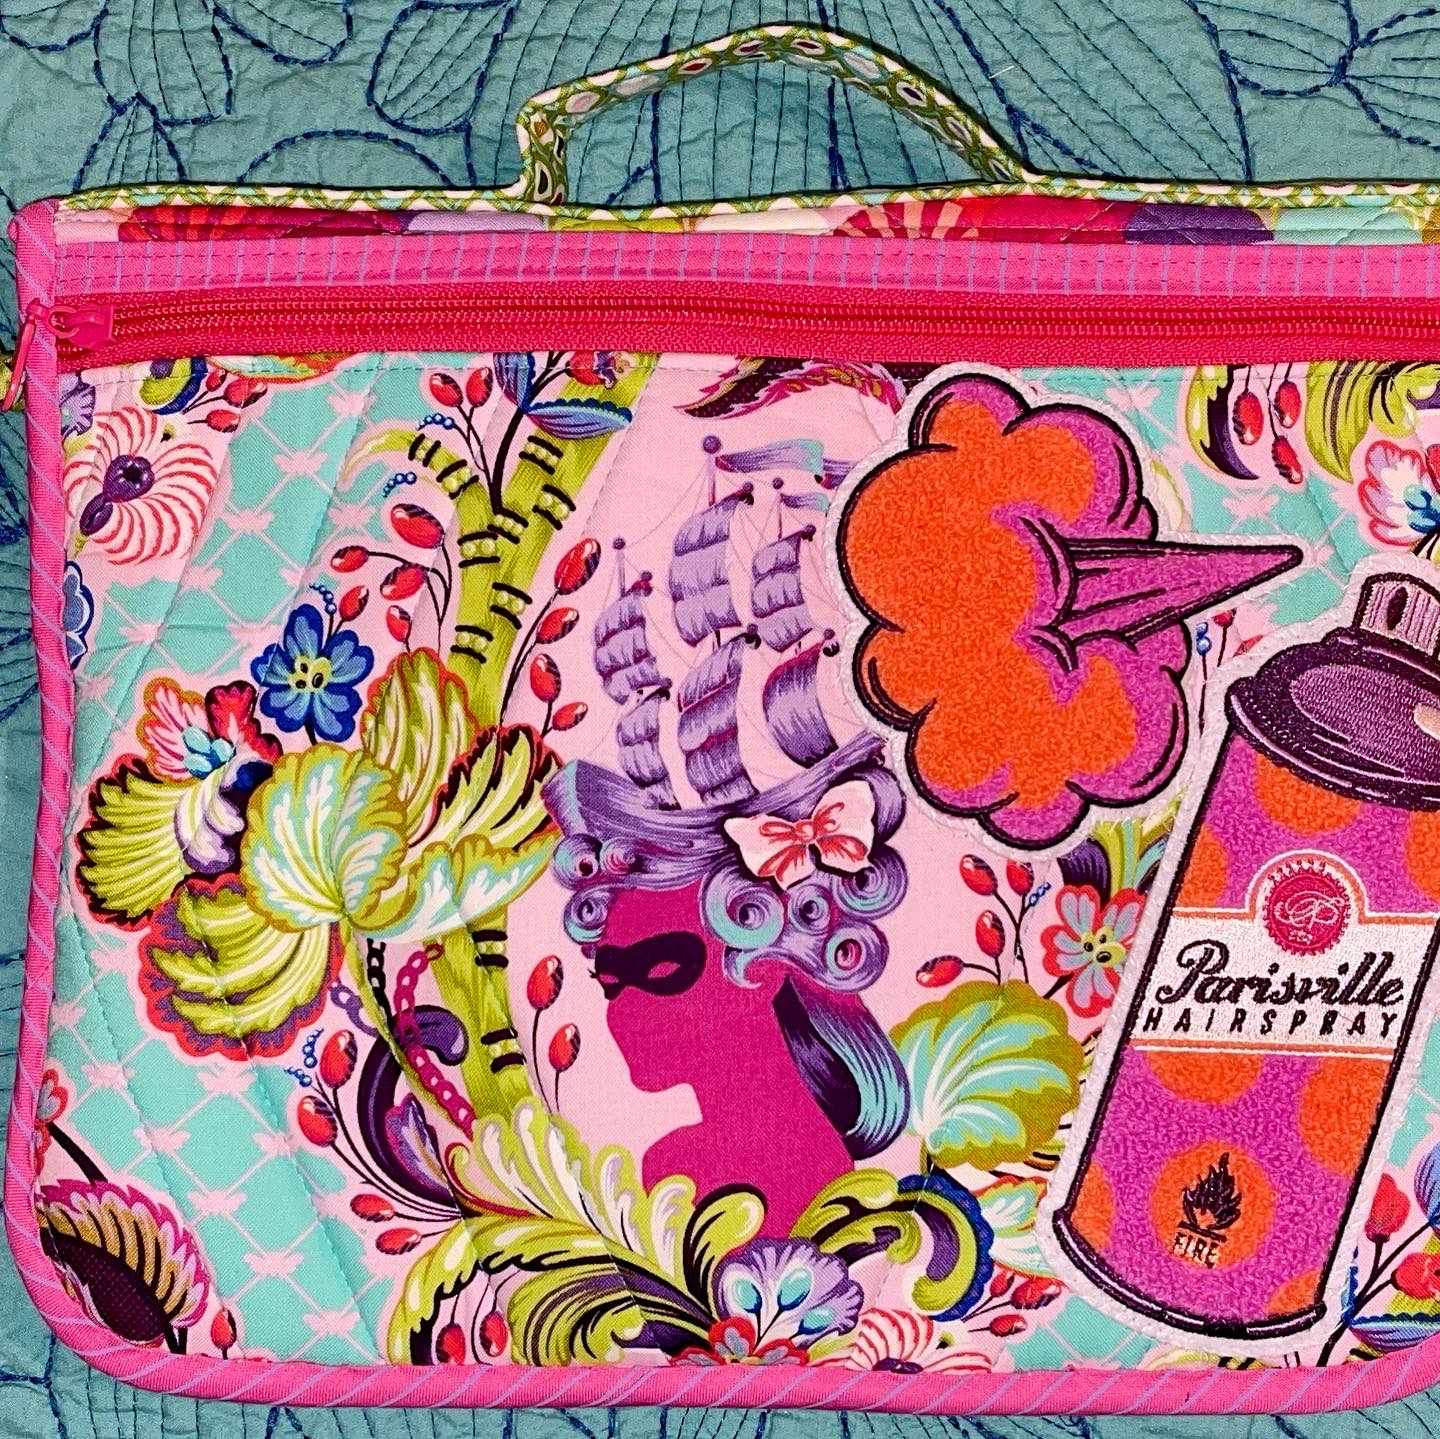
Then- my limited edition
Tula Pink Parisville patches
arrived and I decided to bite my lip
and take them out of the package.
(I know... Tula taboo- but hey, I bought 2 sets!)
It may have taken me all day
to sew this chenille hairspray on by hand!
But I think she is the ideal finishing touch
and I will be perfectly supplied for Quilt Festival!


Anywho, between wedding packing...
keeping up with RSVPs and
my share in COVID PROTOCOL CENTRAL
I have been eager for sewing to destress.
Sew, I finally decided to create
a MINI MAKER STATION.
This pattern by lillella stitchery
was a free pattern download
requiring a bit of planning ahead
to order the precut sheet metal and magnets.
Available through her site:
lillyellastitchery.etsy.com

I decided to piece fabric instead of going
with a straight cut to allow more variation,
and I am really glad I took the time to do so!
I used fabrics from Tula Pink's
Curioser and Curiouser,
Parisville Deja Vu, Homemade...
and whatever other fragments I might
have stumbled on that caught my eye.
One of my favorite things about Tula's
fabrics is how much most can be combined!

Eventually, I completed the quilting
of the body of the pattern...

And trimmed it down per pattern...

Next I added the pockets...

Then I sewed seams to create compartments...
And Finally-
the moment of truth...
I was so relieved the magnet slid in
to the pocket I had created.

I bound it like a quilt...

And then I put it aside to start the other pieces...

Distraction & Wedding Chaos
left me forgetting to take any pics
along the way of creating
the pin cushion or tray.
Oh well... these things happen.

I put them aside to work on trash pouch...

and here it is sewed in place...

And now it awaits some EPP time!

Sept 29, 2022
I also just completed a
"Hold Tites Little Folio"
that Lillella Stitchery designed
for storing Sew Tites magnetic pins
with two pieces of metal in the body
to keep them in place.
A double layer of felt (or in my case flannel...)
acts as a buffer between the Sew Tites
on front and back and
also provides storage for pins
& needles. She describes
the Hold Tite Folio
as perfect for tucking
into a project bag,
keeping on your sewing table
or using for extra storage
to help prevent a big clump
of Sew Tites and
everything they stick to!
We'll see how useful I truly find it...

I did some EPP by machine
to embellish my case!
Then realized I had made 2 fronts!!!
So no my inside is just a snazzy as outer!!!

The 2 metal strips are the true key
to this and were preordered.
The pattern was another freebie from her site.


I think it needs a bit of time to settle...
so I clipped in place


