Tuesday, September 29, 2020

3/4 LUCKY CHARM

Thank you to Jaybird Quilts 
for the team support and guidance through 
Weeks 3 & 4 of Journey 2 Nebula. 
These 2 weeks were spent creating the LUCKY CHARM pillow.
Week 1: 
I successfully completed cutting out all my charms from True Colors fabrics by Tula Pink.

And then- I was surprised by DH with 
plane tickets he bought at the last minute for a 
trip to finally go see our grandson!!!
So, I quickly grabbed some Tula scraps 
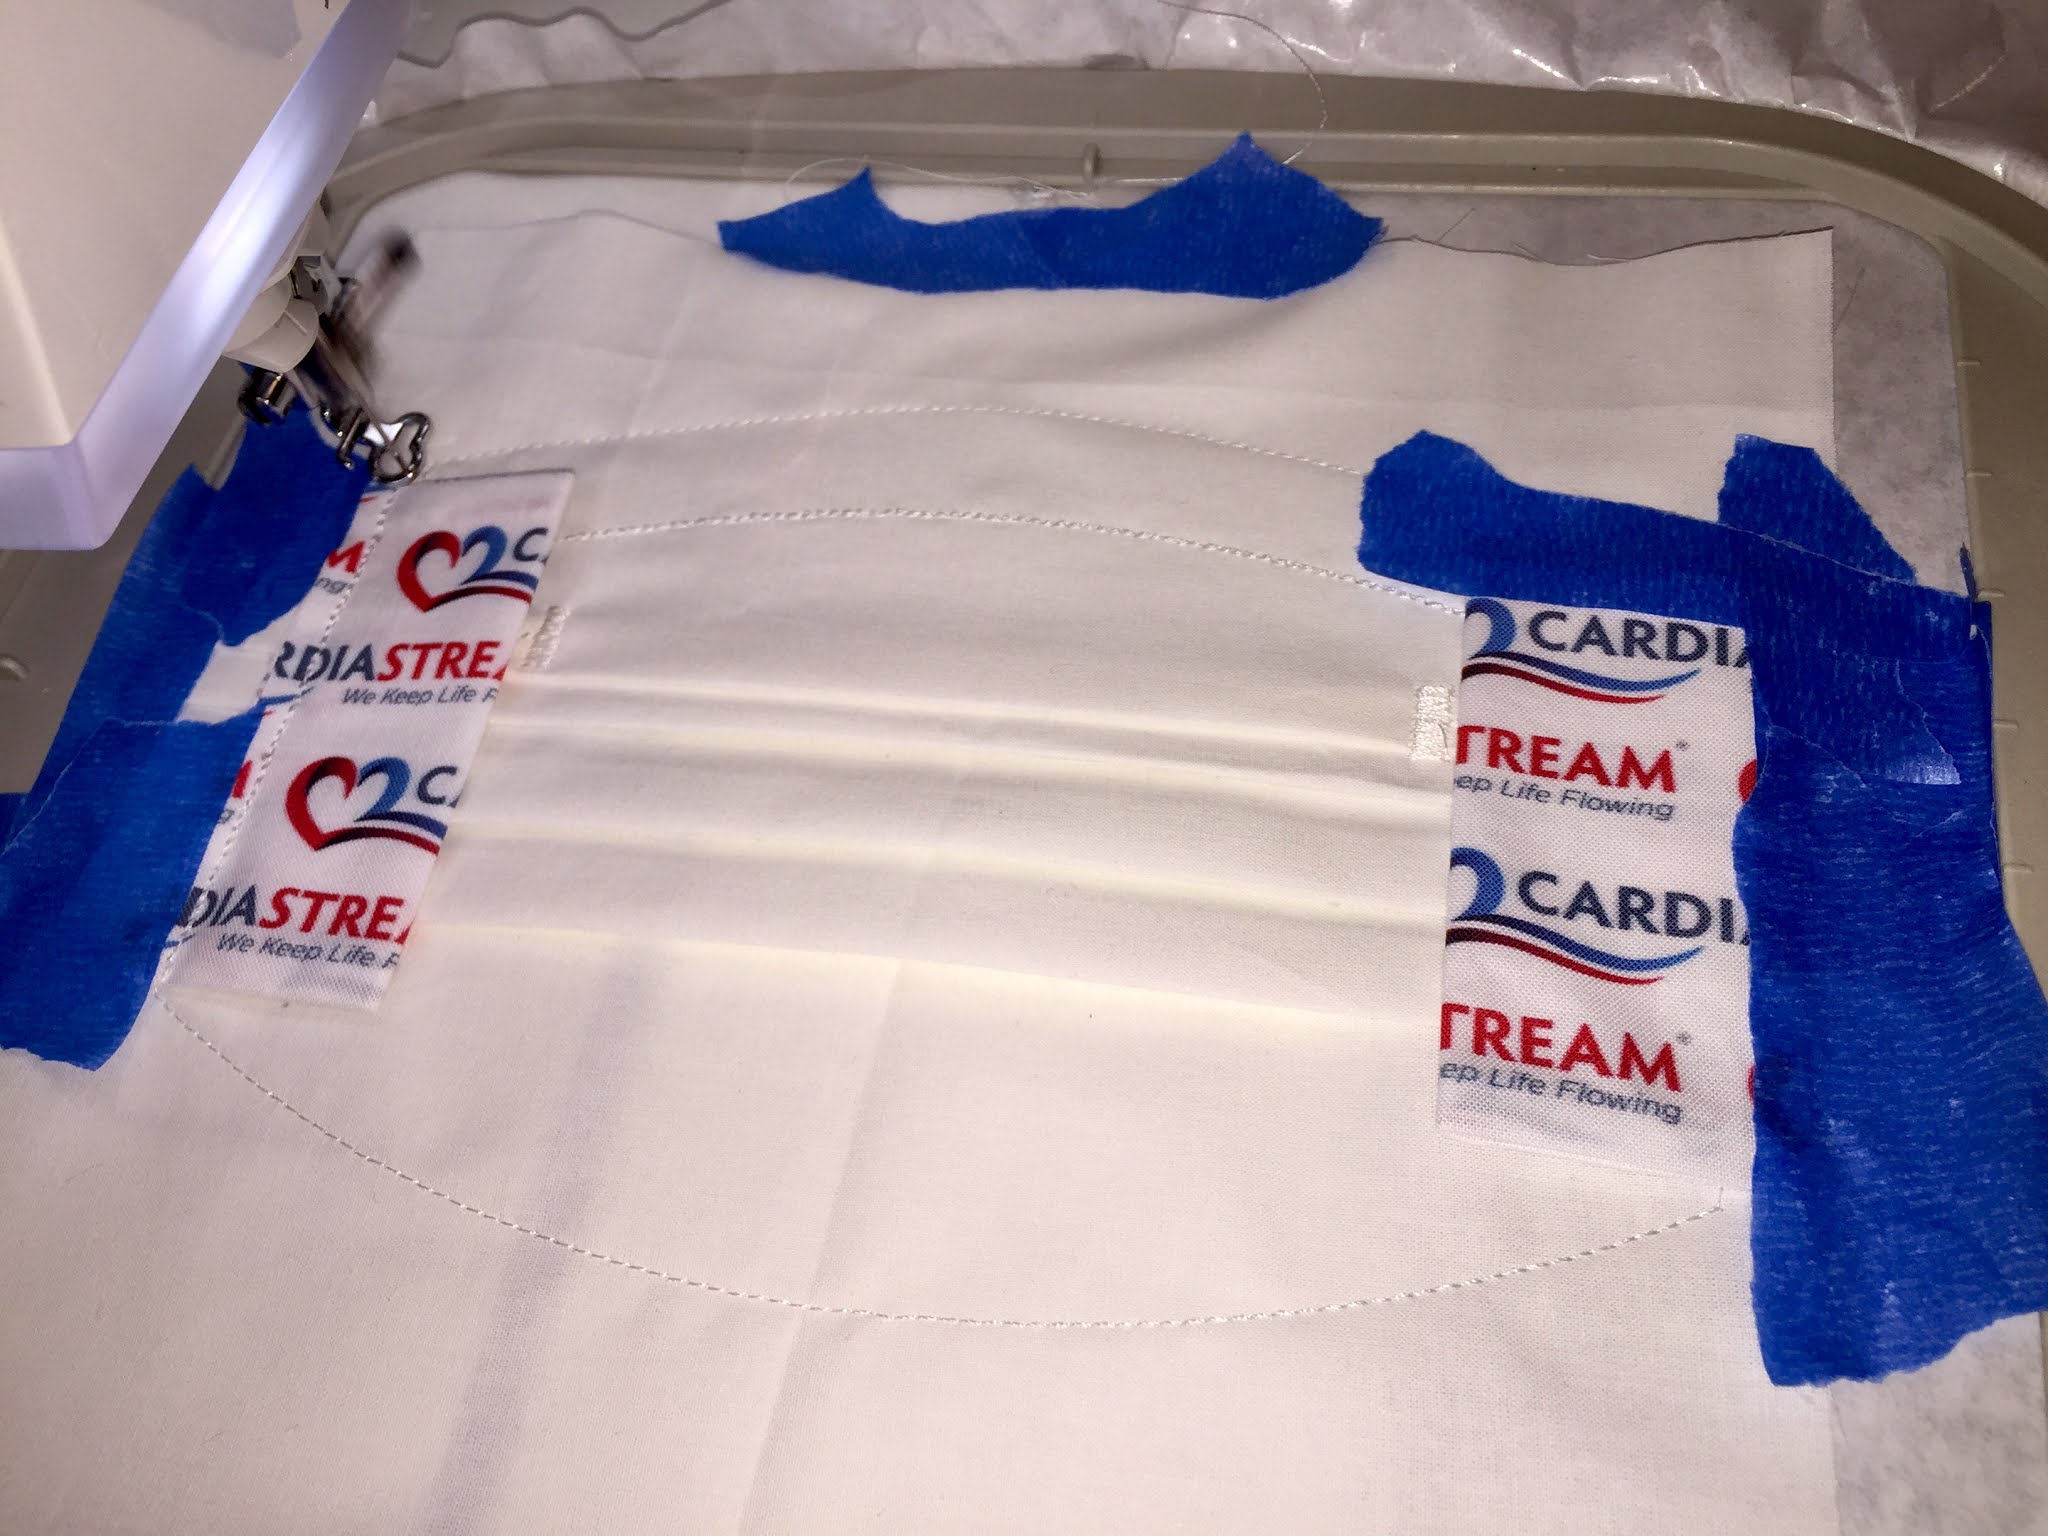
to create a special decorative headband 
and triple layered mask for flight... 
& was ready to go.
Flying during quarantine leaves a lot to be desired... but it is VERY worth the hugs awaiting. So we masked up... & dragged on. 
After arrival we decontaminated- 
and then our reward:
Meet Abraham Martin 4 Months Old!


Back in my quilting room-  
I returned to my journey- week 4:
Our FB board is great for shared ideas and learnings. This week I picked up on the tip for using B&W to evaluate the real lay out....

Once layout decision was finalized... I began sewing one row at a time.
I used a fusible batting and old fabric for backing
Once quilted, I shaped edges and created a puffy border using 2" strips of batting
Then I clipped the topper, border, and backing ... 
and completed sewing


Friday, September 11, 2020

Seaside on a Journey2Nebula


I signed up for the Journey2Nebula in preparation for the Tula Pink Nebula Quilt BOM 
(starting in 2021). 
I have so very much to learn and other things to refresh... I am so grateful to Jaybird Quilts for the time and energy she gives to all of us to share her knowledge and love of quilting.

http://www.jaybirdquilts.com/2020/09/journey-to-nebula-is-under-way.html

Her rulers and patterns are fantastic and were purchased to participate. 
I joined her FB group... and I was in!
Everything is broken up by weeks...
Week 1 was pattern prep 
& week 2 assembly.

Week one I focused on using my super sidekick 
(& eventually the regular sidekick
to cut out all my fabric pieces. 
(I chose fabrics from Tula's Slow & Steady collection.)

Week 1: I am ready to float SEASIDE! Diamonds all cut! #journey2nebula, #jaybirdquilts, #seasidequilt,  #tulapinkslowandsteady


On Tuesdays she posts a new video with the weeks instructions and advice. For this week, it meant instruction for Seaside assembly. 
So, I took her tips and got going as soon as I could.


I was so excited to finally see it fully pieced!

I used a fusible batting and prepared for machine quilting on my Babylock with my walking foot..

I put my walking foot in place and quilted away... keeping it simple, following the piecing and creating an outline to further enhance.


I decided to try something new and create a jazzy border with instructions from a 
Susie's Magic Binding video placed on line by "Aunt Marti" from 52 quilts
It involved cutting 2 different color binding strips and piecing them creating the binding. 
I think it added an extra special tweak!

https://www.youtube.com/watch?v=j8N6nv90H2c

I did all the binding by machine on this one! Starting on the back... and then flipping to bring binding to the front. I did my best to stitch in the ditch between the 2 fabrics. in the seam of the 2 fabrics.


Thursday, September 3, 2020

CARDIASTREAM Mask Central

After making over 120 masks... 
My husband requested I create some custom fabric & masks for he and his partners.
It is actually far easier than I would have thought...

On line I found the company:
SPOONFLOWER.COM
Once you sign up... they talk you through the whole process!

I started with our cardiology practice logo.
I played around a bit with layout... 
Finally, we made a decision and placed I my order.

It took several weeks for delivery.

Here is what screen looked like: 

Logo entered:

eventual design created:


By the time my fabric arrived, 
I had tried out so many different patterns
 and varied filter options... 
that I had my favorites.

I decided the in-the-hoop by Creative Appliques lays best over the N95 required within our hospital. 
It can be found at:

https://creativeappliques.com/shop/in-the-hoop-face-mask-pleated-pocket-2/

I used a 50% off coupon and purchased 15 yard bolt of Pellon 30 stabilizer from JoAnns for $20!

Pellon 30 Stabilizer, White 20" x 15yd board

Item #: 14590087

QTY: 1


and nose bridge strips from amazon...


And 30 masks later... 


Here's how:

BEFORE YOU DO ANY SEWING- 

THE PATTERN MUST BE PRINTED AND YOU MUST CREATE A BOARD TO PRESS AND CREASE FABRICS BEFORE PLACING IN HOOP! THIS & CUTTING IS THE MOST TIME CONSUMING PART.


https://creativeappliques.com/shop/in-the-hoop-face-mask-pleated-pocket-2/
on my Babylock Elissimo


First step gives you the outline to follow for the rest!

back of mask top is first piece

Stitches will eventually be entry for nose bridge

Carefully lining up PRESSED SEAMS... overlapping, and using painters tape makes it easy peasy!

You can see seams are now fixed in place by stitchwork.


Next, you tape prepared side pieces in place


Once those are stitched in place... 
you apply the front of mask face down

Before flipping, You will carefully slit, just the top layer of backing to slide in the nose bridge strip
And then flip all and attach straps through sides and stitch in center to hold


Dr. Lieberman & Dr. Israel 

Tyler, Texas                       

https://cardiastream.com