A safe space to stretch... but not escape too soon. With bright colors to catch his interest and soft puffs to protect him.
I explored Pinterest (of course) and found project ideas easily. It takes some time... and an absurd amount of batting and fiber filling... but I am very happy with the results.
I used solid fat quarters for the
individual pillow edge pieces
The pattern I eventually created
was eyed by viewing on-line patterns.
I used a sheet of 8 1/2 by 11" printer paper and rounded off one Side.
I cut 2 pieces of each fabric
and sewed it together leaving a small area
for turning and stuffing.
Then after stuffing-
stitching remainder closed by machine.
For the Mat:
I used the full width of my chosen fabric-
Mine was 45" wide.
I folded it towards length to create a 45" square.
Once I had my square cut-
I folded it in half-
And over in half again and rounded edge so I could arch edge.
(Sorry I forgot to take a pic)
I wished I'd had a hula hoop for this part!
I took advantage of the embroidery
feature on my machine and added the
babies name before moving on and
layering with 3 layers of thick baby quilt batting. (I opted for this batting assuming, it is likely to
need frequent spot cleaning at minimum)
Puffs were pinned in place...
overlapping edges...
sewn around edges 1" seam
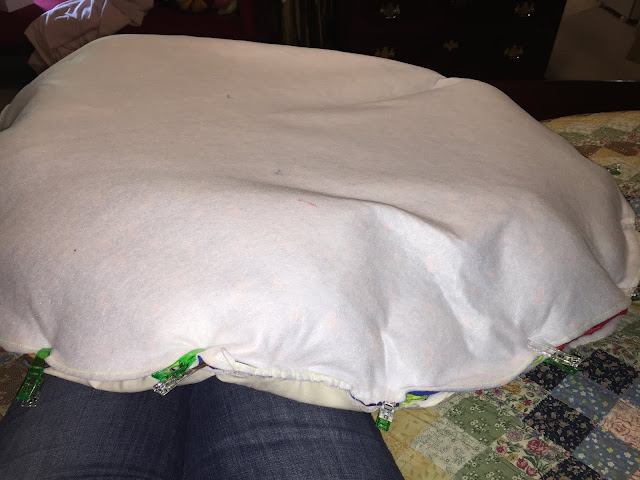
Puffs sewn in place- be sure to lay facing inward before pinning next layer!
Next layer clipped over top...
This is clumsy and a constant reminder:
You are not in charge:
The 18 pillows are in charge!
I used my walking foot and went VERY SLOW
I went around the edges 3 times by machine- knowing all further stitch work would be done by hand.
See the turning hole above???
THIS IS NOT THE IDEAL SIZE TO LEAVE REMAINING!!!
LEAVE LARGER TURNING SPACE!!!
I really did lose control
If you wear glasses-
Take
Them
OFF
before
turning
this
beast!!!
After my DH got his picture
and stopped laughing-
he helped me.
Glasses now retrieved-
I eventually finished turning "the beast".
I completed all further stitchery by hand
with thick red embroidery floss.
Eventually, I hope to add pics with our future grandbaby
Finished Play mat:
I copied directions from a link at:


2 comments:
Congrats on the grand baby!!
TY so very much
Post a Comment